- Home
- Get started
- First pressure lesson
Learn Coloured Pencil Pressure Control: A Simple Beginner Exercise
Congratulations on setting up your comfy drawing space! You've got your Essential Supplies, your pencils are sharp (or you know how to sharpen them!), and now it's time for the most exciting part – actually making some marks!
This first simple exercise focuses on coloured pencil pressure control.
It might sound incredibly basic, but trust me, learning how much pressure to use with your pencil is arguably the most important first skill to develop.
It's how you'll control how light or dark your colours appear on the paper, and getting a good feel for it it is important for successful layering and blending later on.
Don't worry, this is easy and quite relaxing! Let's get started.
What You'll Need
Keep it simple for this one:
- Just 1 or 2 of your new coloured pencils (pick a medium colour like a blue, green, or red – avoid black, white, or very pale yellow for this exercise as it's harder to see the pressure changes).
- A sheet of your practice paper (the Heavyweight Cartridge or the Derwent Watercolour paper recommended earlier is perfect).
- Your trusty sharpener.
The Exercise: Feeling the Pressure
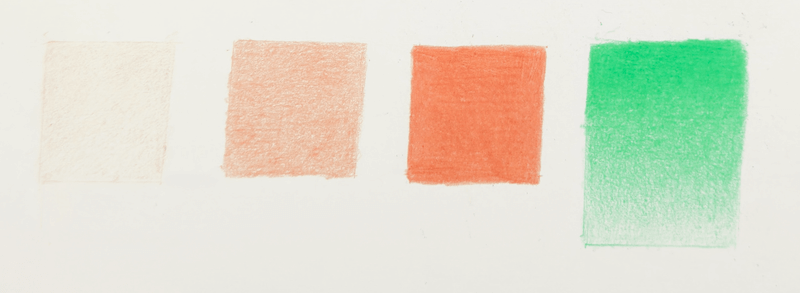
 Practicing different pressures: Aim for pale layers (left), solid mid-tones (centre), full coverage (burnished), and smooth transitions (gradient, right).
- Get a Good Point: Make sure your chosen pencil has a nice sharp point using the tips in our Sharpening Guide.
- Hold Comfortably: Find a relaxed grip on your pencil – don't hold it too tightly! Holding it slightly further back from the tip can naturally help you achieve lighter pressure.
- Draw Some Shapes: Lightly sketch a few small squares or rectangles on your paper – about 3-4cm or roughly 1.5 inches across is a good size. I used a stencil to make it even easier.
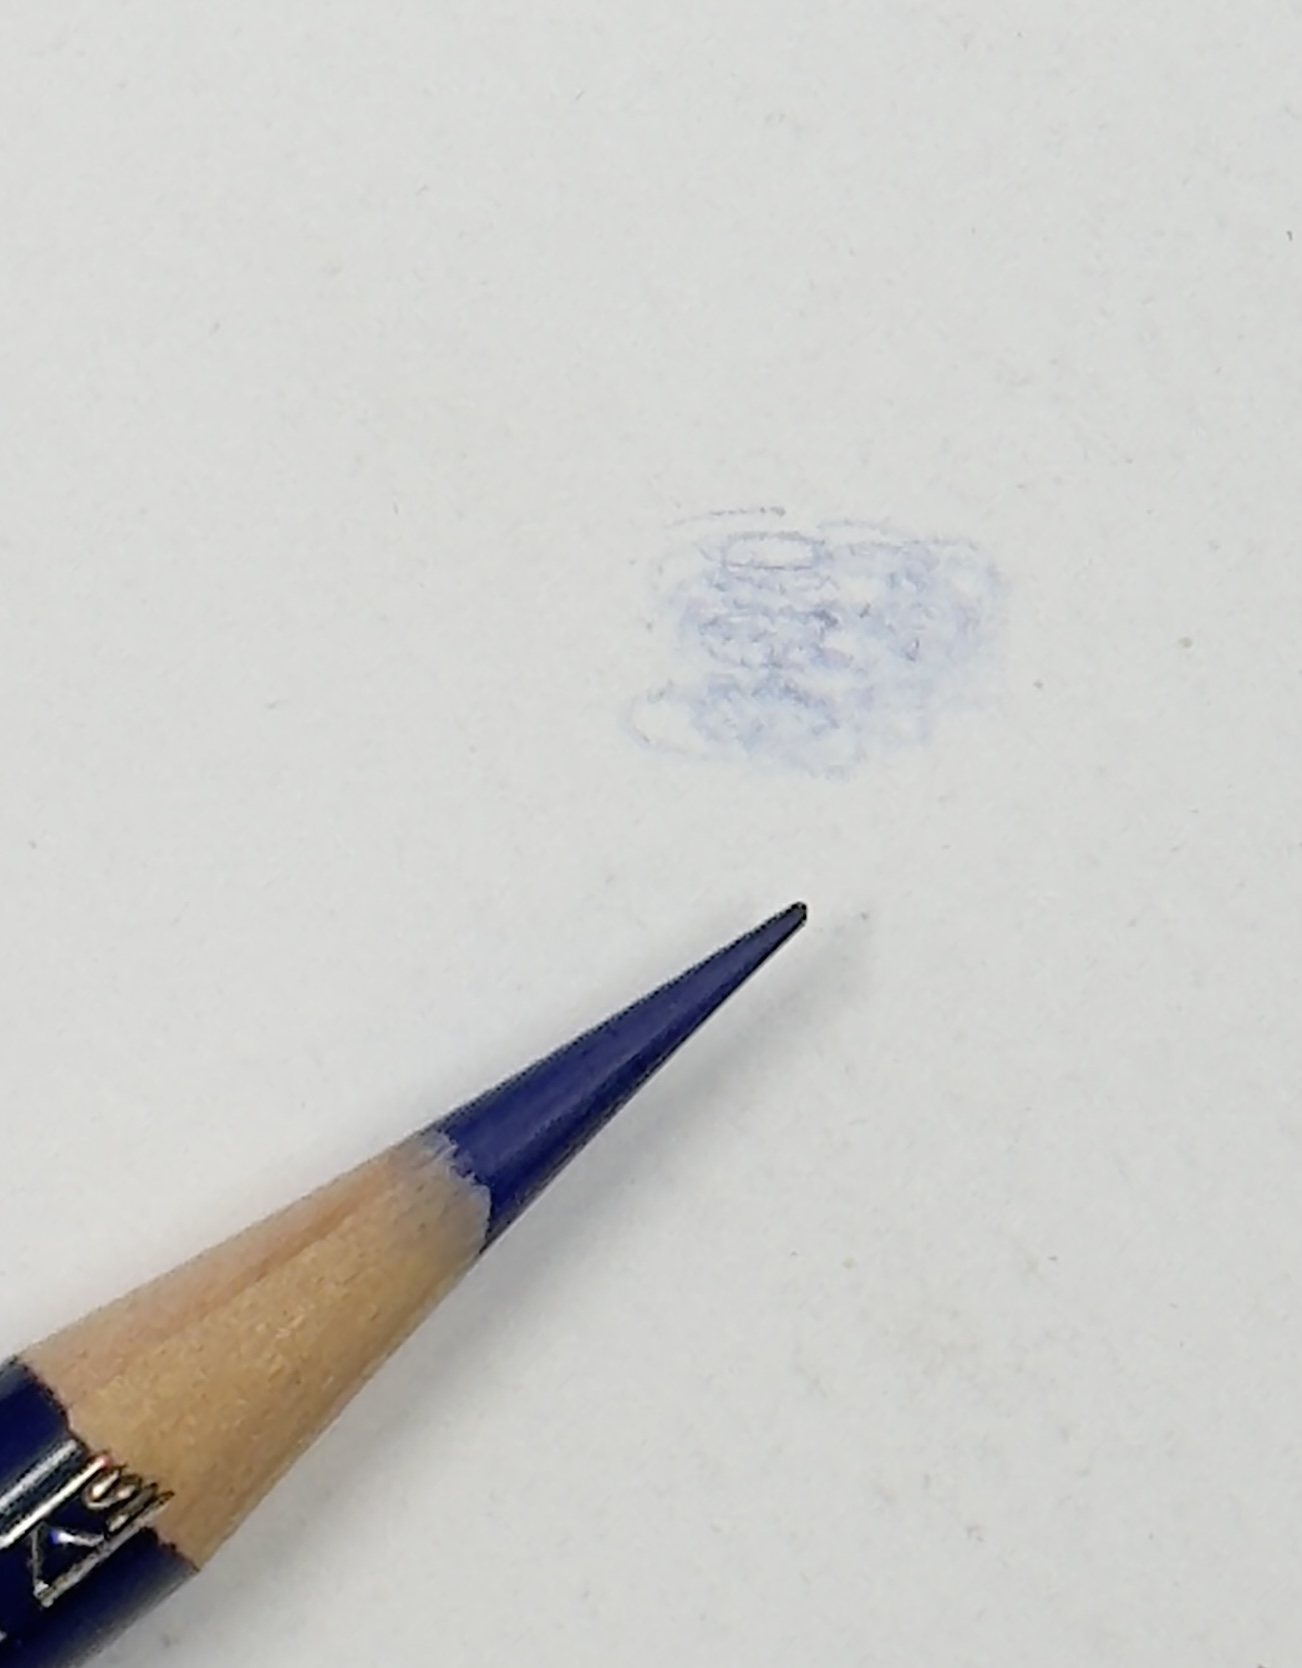
- Practice LIGHT Pressure: Now, let's fill the first square. Use the lightest pressure you can — like your pencil’s whispering across the page — and apply colour. Use small, overlapping circular strokes OR gentle, close-together back-and-forth strokes. Keep going until the square is filled with an even, pale layer of colour. You should still clearly see the white texture of the paper underneath. This light touch is crucial for building layers later!
- Practice MEDIUM Pressure: Move to the next square. This time, apply a little more pressure consistently as you fill the square with overlapping strokes. Aim for a richer, more solid block of colour than the first square, but you should still be able to see some of the paper's texture beneath the colour. This is often the pressure used for mid-tone layers.
- Practice HEAVY Pressure (Burnishing): In the third square, press firmly! Use consistent, heavy pressure with overlapping strokes to completely cover the paper white. Notice how the colour becomes very intense, saturated, and possibly even develops a slight sheen? This technique is called burnishing. It's fantastic for making colours pop in your final layers, but be careful – don't use heavy pressure too early in a drawing, as it flattens the paper's tooth and makes adding more layers on top very difficult!
- Try a Smooth Gradient: Let's use a rectangle for this. Start at one end, applying heavy pressure. As you move across the rectangle, gradually decrease the pressure, transitioning smoothly through medium pressure, down to the lightest possible pressure at the other end.
Imagine you're slowly easing off the brakes when roling down a hill - your pressure should ease smootly, not all at once.
Overlap your strokes where the pressure changes to help the blend look seamless. Getting this smooth takes practice, but it's the foundation for shading and making objects look 3D
 Beginning to build colour with light, overlapping circular strokes. Keep your touch gentle at this stage.
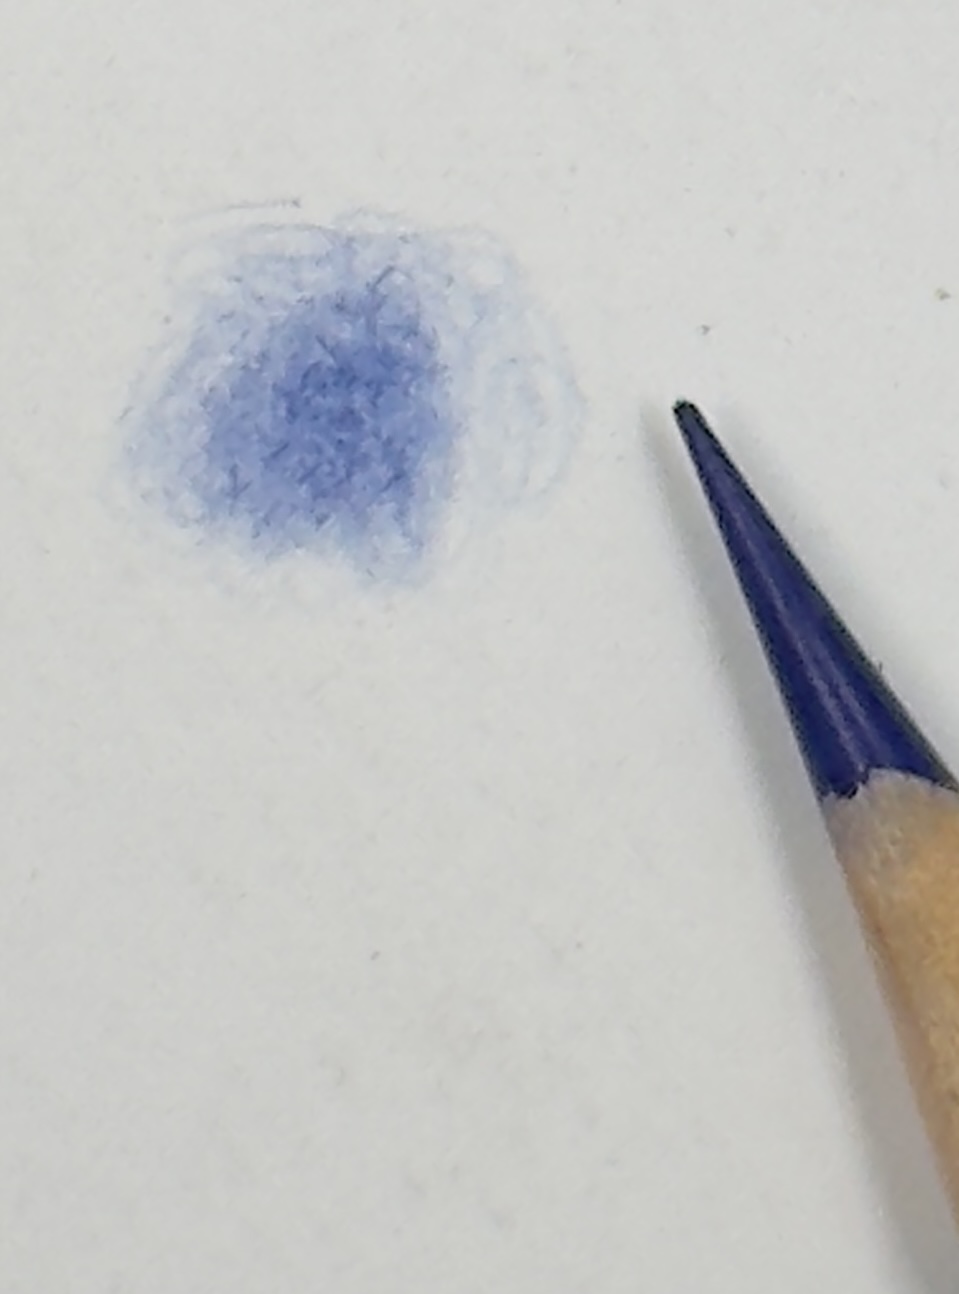
 Continuing to build up the colour evenly with more overlapping circular strokes. Notice how the area becomes more solid.
Troubleshooting Your Swatches
- Keep your pencil reasonably sharp throughout – resharpen if needed.
- Patchy gradient? Go slower and overlap your strokes more.
- Light pressure still too dark? Try holding your pencil even further back.
- Relax your grip! A tight grip often leads to heavy pressure.
You’ll get smoother with practice — I promise! But remember, there's no 'perfect' result here - it's all about building awareness of how your pencil feels on the paper.
Have fun experimenting – see just how many different shades (values) you can get from just one pencil simply by changing pressure!
Take It Further - The 10-Level Pressure Challenge
Once you're comfortable with light, medium, and heavy pressure, here's an advanced exercise I use with my students who want even more precision in their pressure control.
Create a test strip and practice 10 distinct pressure levels.

Start with level 1 - barely touching the paper, where you're almost just resting the pencil on the surface and making virtually no mark.
At the other extreme, level 10 would be maximum pressure, right up to the point where any more force would break your pencil tip.
Now here's the challenge: see if you can create 8 evenly-spaced pressure steps between those two extremes. It takes practice, but developing this kind of control gives you incredible precision for subtle shading and smooth transitions.
My advice? You'll rarely need to work in the upper half of that pressure range - certainly not until the very end of a piece when you're polishing and burnishing.
Most of your beautiful layering work happens in those lower, gentler pressure levels.
Try it out and see how many distinct levels you can achieve. It's quite meditative once you get into the rhythm!
Well Done!
Fantastic – you've just practiced the single most fundamental skill in coloured pencil drawing!
Getting a feel for pressure control - whether you're working with the basic light, medium, and heavy pressures or pushing yourself with the 10-level challenge - and remembering to use mostly light pressure for building initial layers, is the key that unlocks all the wonderful techniques like layering, blending, and creating beautiful, realistic drawings.
Feeling comfortable with pressure control?
Brilliant! You're now perfectly ready to learn more about the building blocks of creating art.
➡️ Next Step: Now that you’ve got the feel for pressure, you're ready to build on that by exploring core drawing skills in our Foundation Skills Hub.
